How It Works, demonstrates just how simple wine making has become using the revolutionary UWinemaker Rock and Roll wine making steps at home. No Lifting, No Syphoning, No Power Degassing, No Filtering, No Mess, Easy Bottling Directly from the Tap.
STEP 1: PUT IT TOGETHER (DAY 1-10)
Clean and Sanitize the UWinemaker.
Insert botting tap plug inside the UWinemaker.
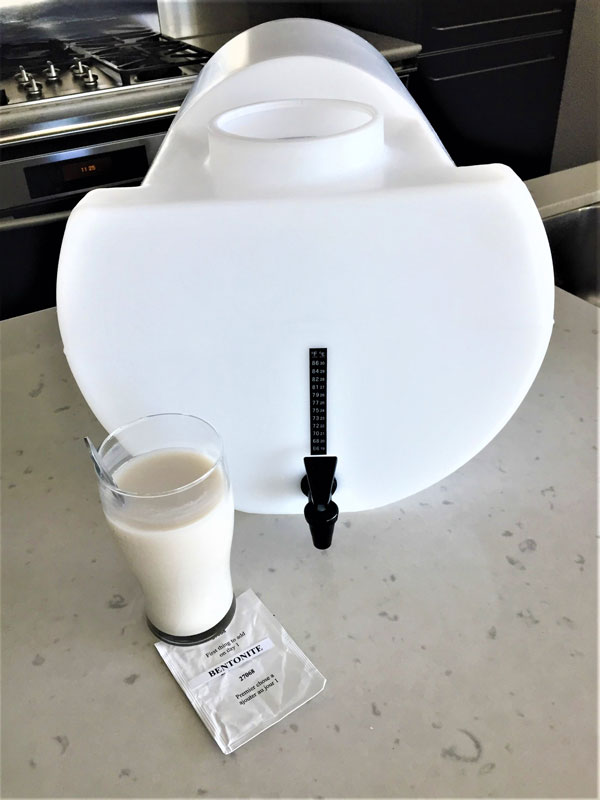
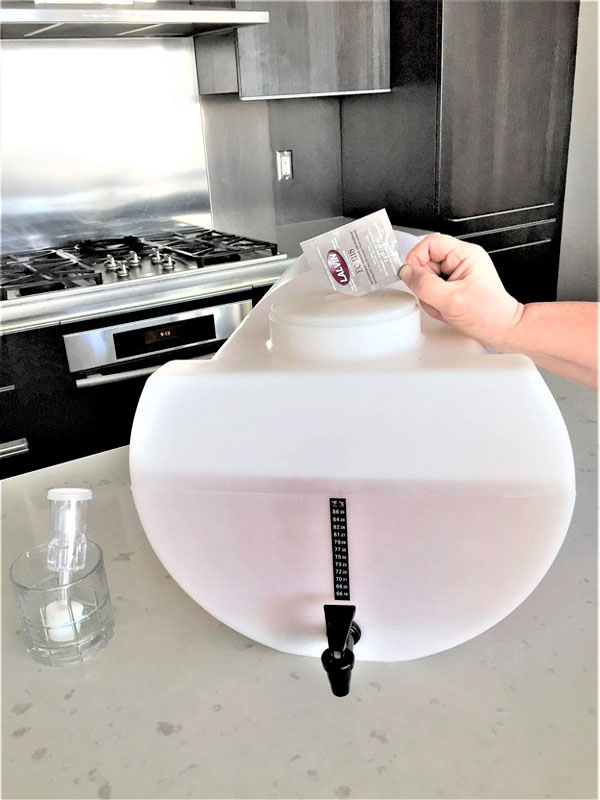
Mix Bentonite, add.
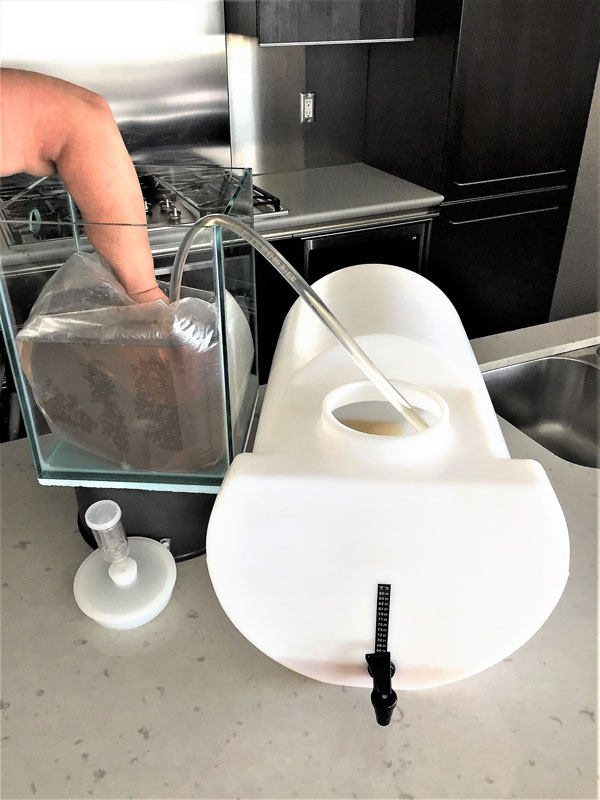
The wine kit is transferred into the UWinemaker using the UWinemaker transfer hose. (Clear box for demonstration)
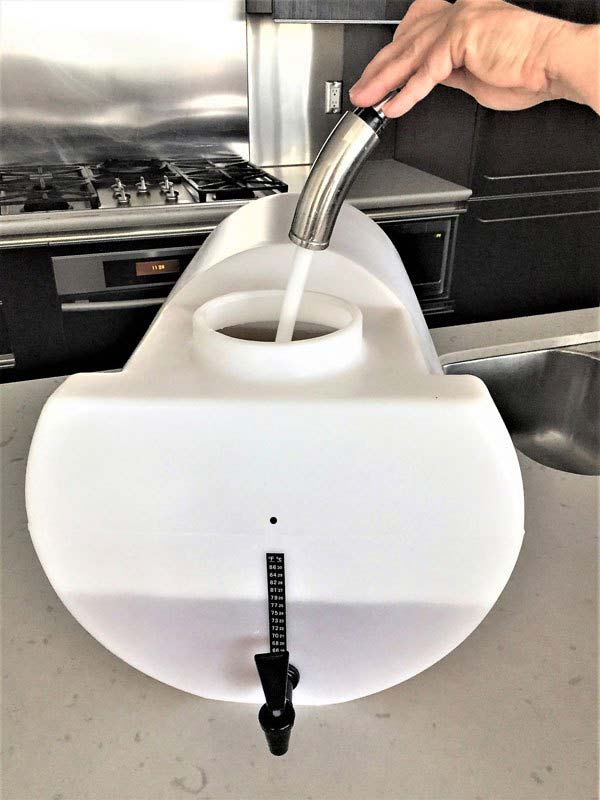
With the UWinemaker on its front raised tilted position, add quality tap or purchased water to the black dot level. A cavity space remains in the fermenter.
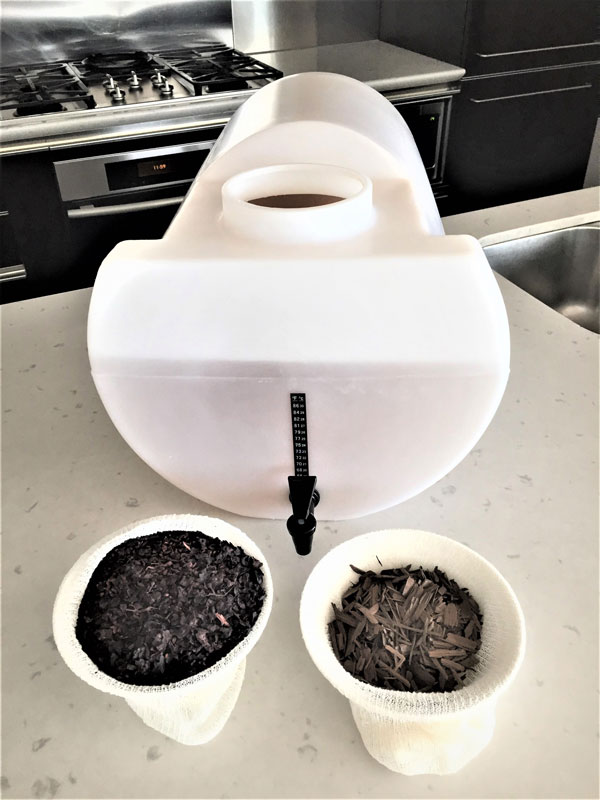
Optional solid ingredients such as oak chips, and grape skins are loosely contained in individual muslin (hop) bag(s) tied. Remove on Day 10.
Roll onto its curved surface.
Rock and Roll 30 seconds to mix and introduce Air Oxygen into the wine must in support of a healthy fermentation start.
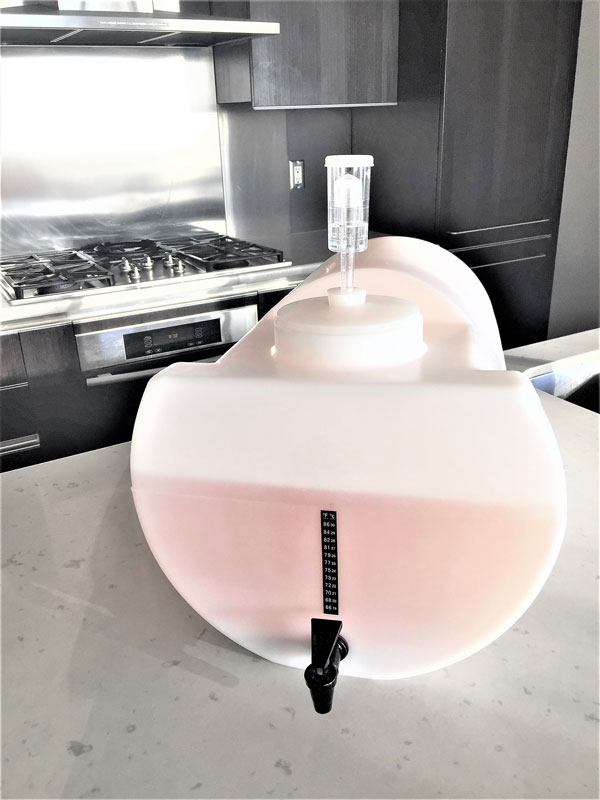
Yeast initiates Fermentation. Attach airlock and bung.
Heavier fermentation CO2 gas fills the Cavity Space with a CO2 wine friendly gas. From here on our wine has no Air Oxygen contact.
STEP 2: ROCK AND ROLL (DAY 14)
Fermentation should be complete.
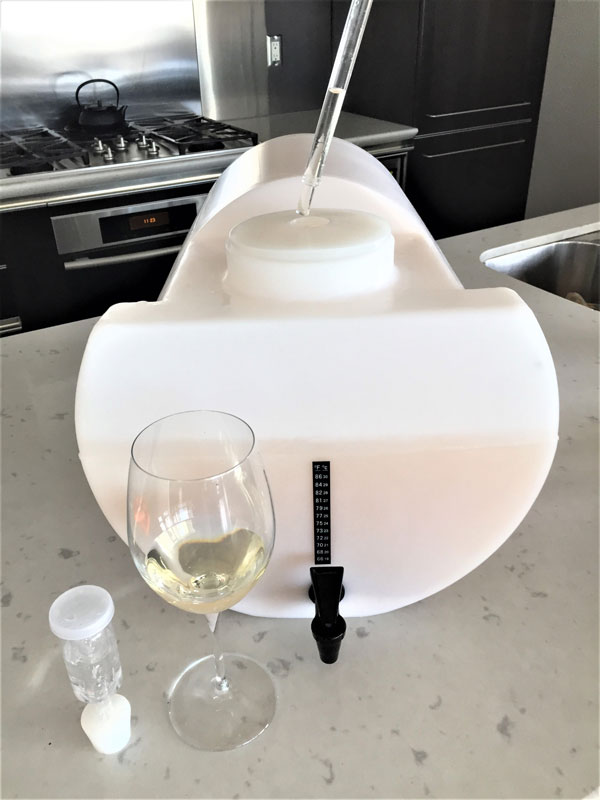
Using the sampling tube retrieve some wine and taste evaluate dryness.
Ingredients:
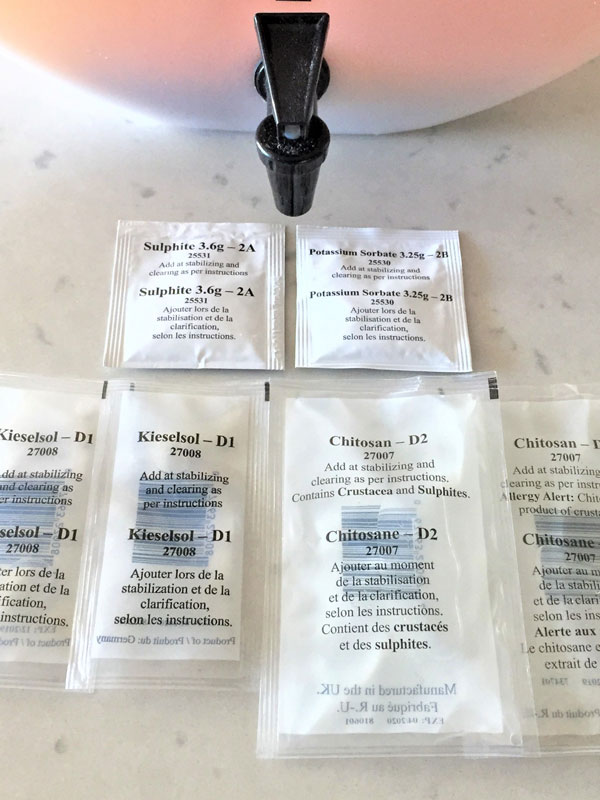
Stabilizers metabisulphite (sulphite) and potassium sorbate, sometimes combined.
Double Clearing Agents: 2 Kieselsol, 2 Chitosan.
The cavity space is filled with friendly CO2 gas.
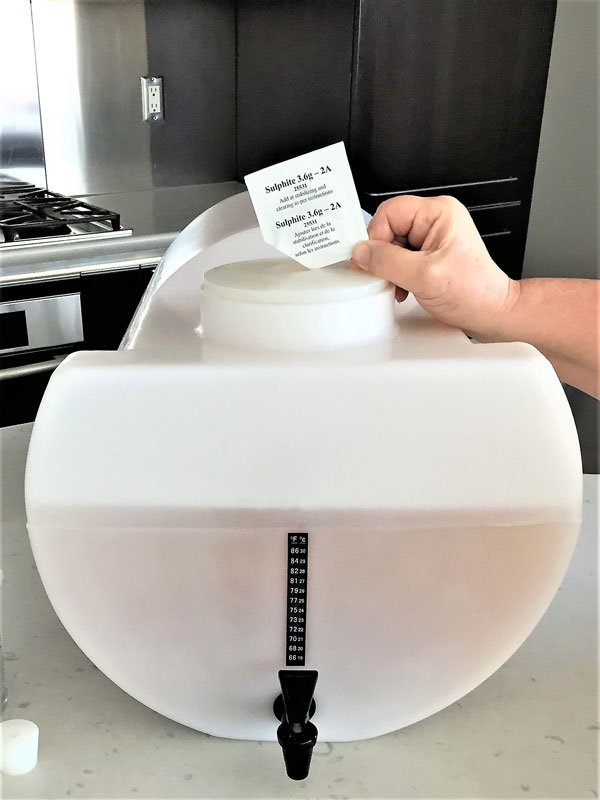
Individually add ingredients and individually Rock and Roll 1-3-1 each ingredient to mix and degas the wine
Rock and Roll
Each ingredient individually
(If combined, rock and roll for each ingredient as if they were not combined)
1 Min. Rock and Roll
3 Min. Pause
1 Min. Rock and Roll creating adequate agitation and splashing to mix and thoroughly degas the dissolved fermentation CO2 out of the body of the wine.
CO2 gas is released and retained within the cavity space by the airlock.
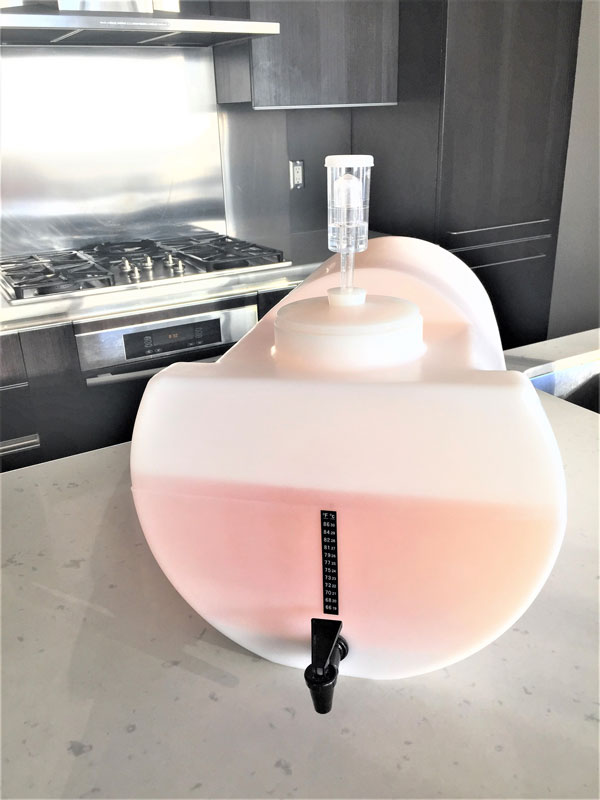
The wine is left in its raised tilted position to rest and clear at the edge of the counter.
STEP 3: BOTTLE & ENJOY (DAY 24-28)
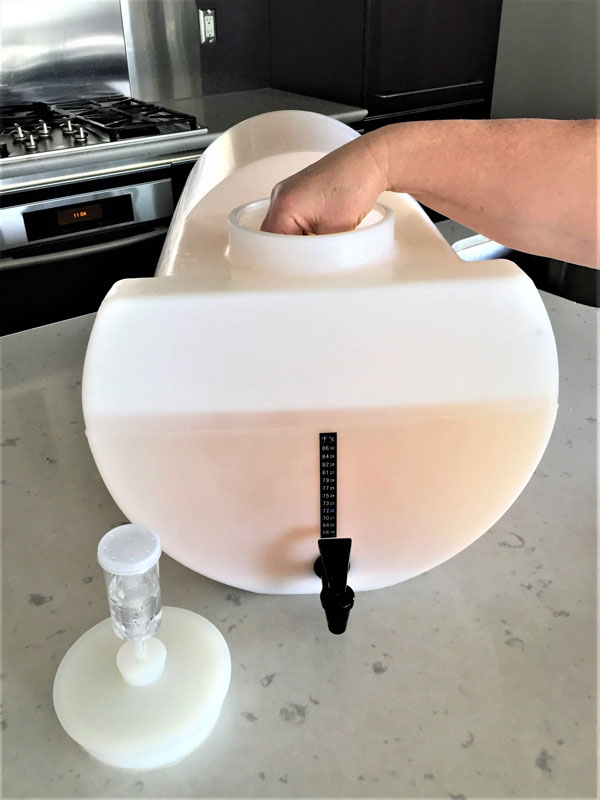
UWinemaker resting at the edge of the counter in its raised tilted position.
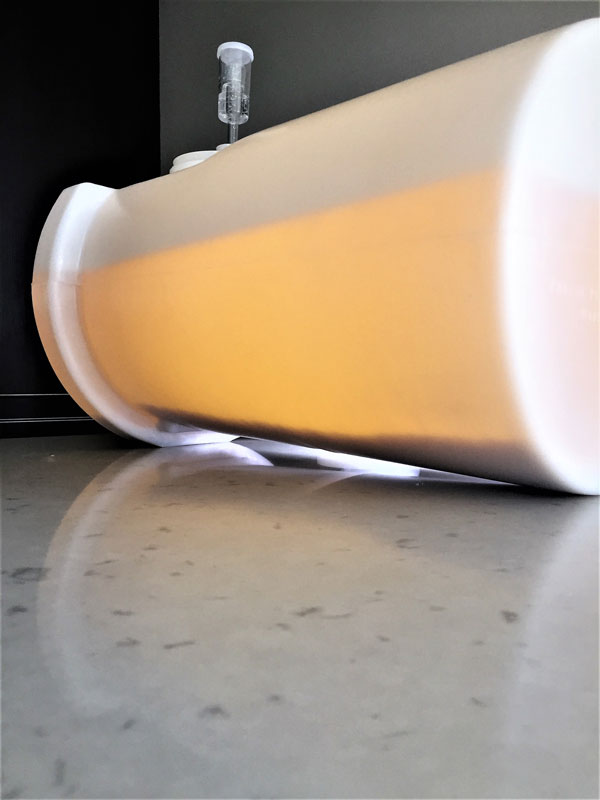
UWinemaker’s front raised tilted position draws the wine’s sediment to the back of the fermenter.
Day 24
Gently reach in and
remove the bottling
tap plug.
Day 24
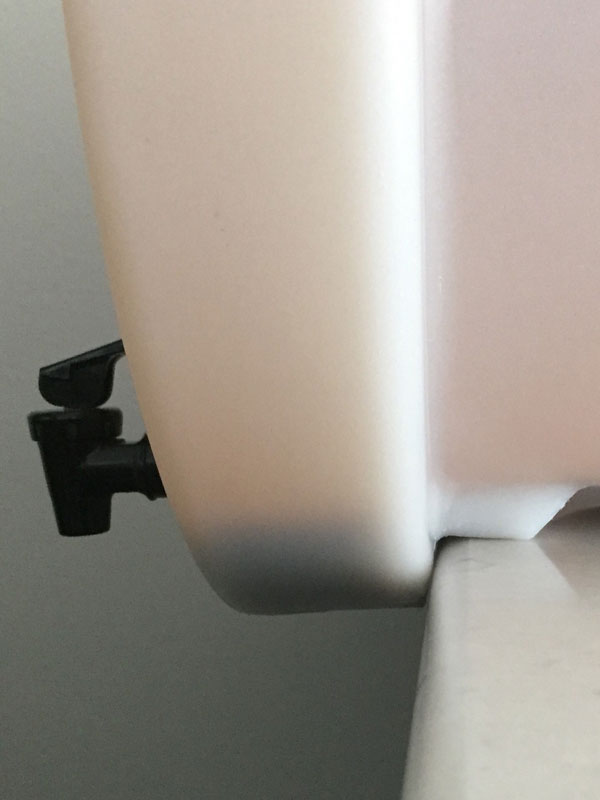
Gently slide the UWinemaker forward onto its lower botting ledge.
The wine is left again 4 days to rest and clear.
Day 28
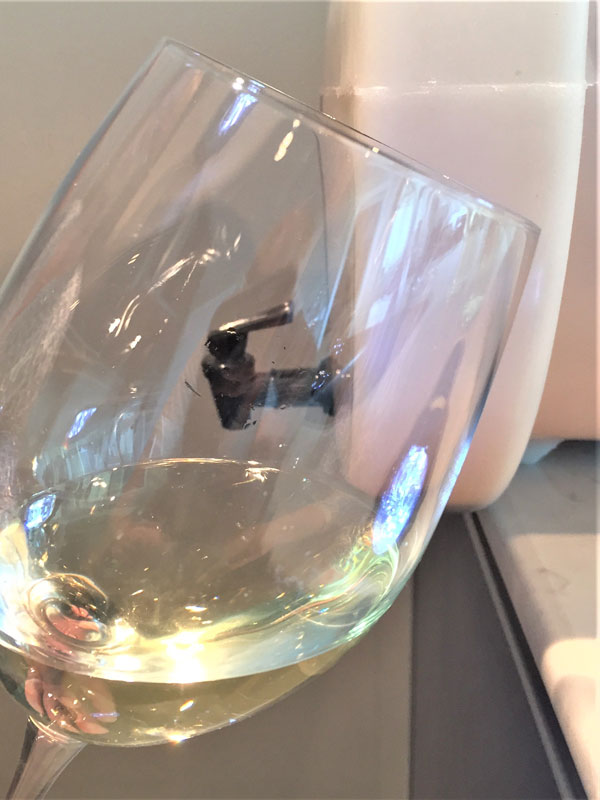
Take three individual 4 oz (100 ml) samples to clear the tap of sediment and evaluate the wine’s clarity.
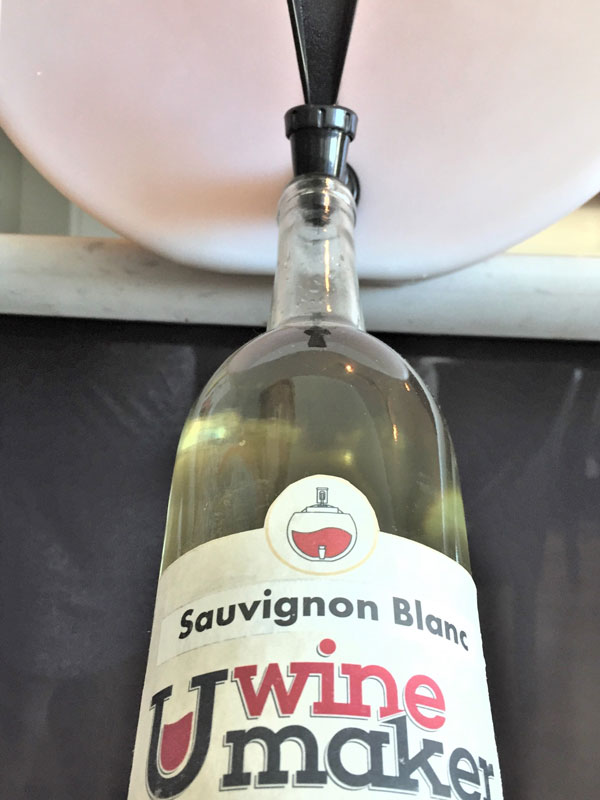
Day 28
Tilt the bottle slightly to avoid splashing. Bottle Brilliant, Vibrant, High Quality, Clean Tasting Wine.
Enjoy!